
Table of Contents
Key Takeaways
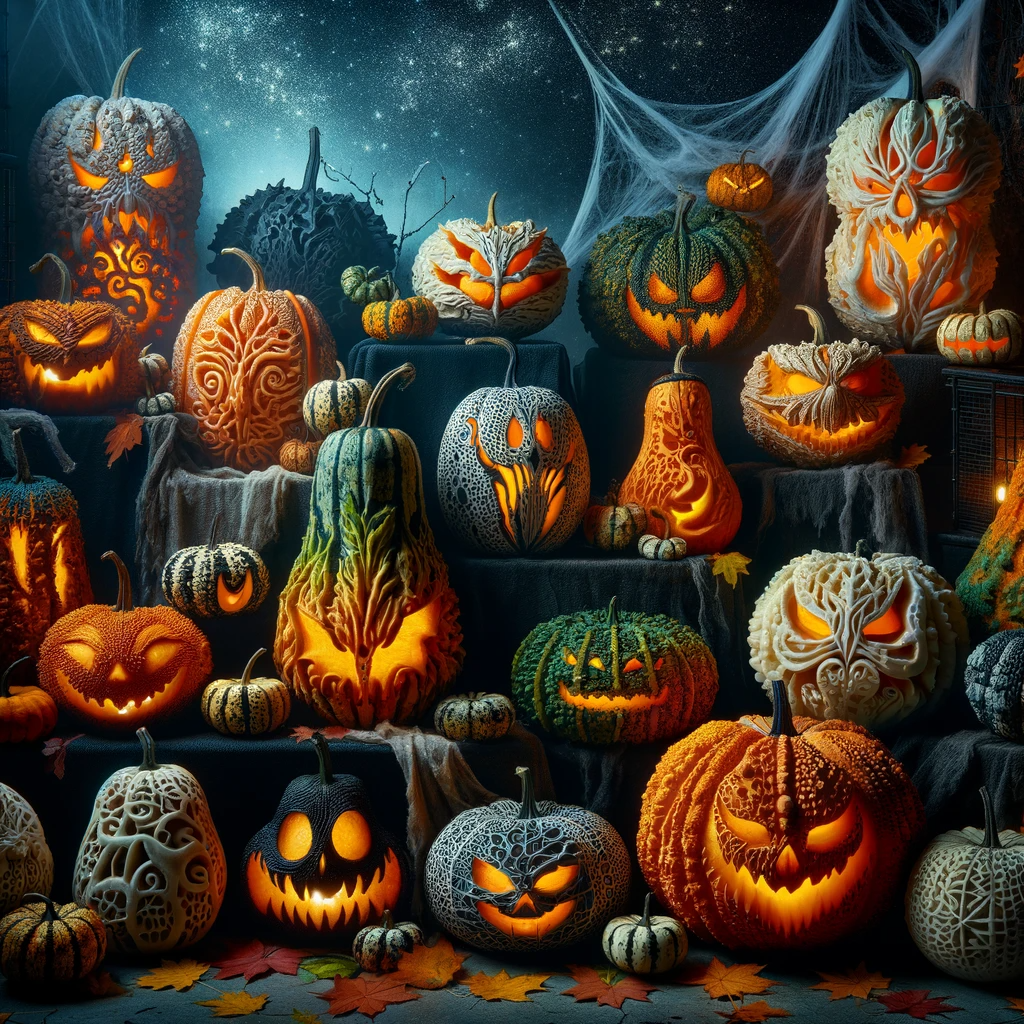
- Uniqueness: Warty pumpkins offer a naturally spooky and textured canvas that’s perfect for Halloween carving.
- Tools & Safety: Grab some specialized tools and follow a few safety tips—I’ve got you covered on how to handle those tricky bumps.
- Carving Techniques: Step-by-step guides for both beginners and advanced carvers to create stunning designs.
- Creative Ideas: Explore themed, 3D, and kid-friendly carving ideas to make your Halloween display really stand out.
- Preservation & Display: Learn how to keep your carved pumpkin fresh and creatively display it for maximum impact.
- Common Issues: Find solutions to common problems you might encounter while carving warty pumpkins.
Introduction to Warty Pumpkin Carving
Halloween has always been my favorite holiday. There’s something magical about the spooky decorations, eerie lights, and of course, the pumpkins. Over the years, I’ve experimented with all sorts of pumpkin varieties, but nothing quite captures the spirit of Halloween like a warty pumpkin. Their natural imperfections are what make them perfect—they practically carve themselves into something creepy. Whether you’re new to carving or a Halloween pro, warty pumpkins are a game-changer—you’ll love the creative freedom they offer.
Tools You’ll Need for Carving Warty Pumpkins
Carving a warty pumpkin requires a bit more care than a typical smooth pumpkin. Believe me, after wrestling with regular knives, getting a proper set of carving tools was a total game-changer. Here’s what I’ve found to be indispensable:
Basic Carving Tools
- Pumpkin carving knives: These are essential for cutting through the tough skin.
- Scoop: For cleaning out the pumpkin’s insides.
- Stencil and markers: Handy for sketching out your design before you start carving.
Specialized Tools for Warty Pumpkins
- Fine detail tools: Perfect for working around the bumps and creating intricate designs. A fine detail tool is a game-changer, especially when you’re dealing with those stubborn warts.
- Power drills: For making precise holes and adding depth to the design.
- Rasps and files: Ideal for smoothing out areas around the warts.
Safety Tips
- Always carve away from yourself to avoid accidents.
- Use tools with non-slip grips for better control.
- Supervise children closely if they’re involved in the carving process.
Preparing Your Warty Pumpkin
I’ve learned the hard way that preparation is everything—let’s just say I’ve had my share of carving disasters. Here’s how to set yourself up for success:
Selecting the Right Pumpkin
- Look for evenly distributed warts: This gives you more design options.
- Check for a solid base: The pumpkin should sit flat to prevent it from tipping over once carved.
Cleaning and Prepping the Surface
- Wash the pumpkin: Remove dirt and debris to ensure a clean carving surface.
- Dry thoroughly: This helps prevent slipping while you carve.
Tips for Handling Bumpy Textures
- Plan your design around the warts: Incorporate the natural bumps into your design to add character. I like to think of them as nature’s way of giving me a head start on my carving.
- Work slowly: The uneven surface can make carving more challenging, so take your time to avoid mistakes.
Easy Warty Pumpkin Carving Ideas for Beginners
If you’re just starting out with warty pumpkins, it’s best to keep it simple and let that awesome texture do the talking. I remember my first warty pumpkin carving—it was far from perfect, but the warts gave it a character that a smooth pumpkin just couldn’t match.
Simple Faces with a Spooky Twist
- Basic Jack-o’-lantern face: Use the warts as eyes or a nose for an extra creepy effect.
- Scary smile: Carve a wide, toothy grin around the pumpkin’s bumps.
Using Natural Bumps as Features
- Eyes and noses: Let the warts act as facial features to give your pumpkin an organic look.
- Natural scars: Incorporate the bumpy texture as scars or wrinkles in your design.
Step-by-Step Guide for a Beginner Design
- Sketch your design: Draw directly on the pumpkin with a washable marker.
- Carve the outline: Start with the larger sections and work your way to the details.
- Refine the features: Use smaller tools to add details around the warts.
Advanced Warty Pumpkin Carving Techniques
If you’ve got some carving experience under your belt, warty pumpkins are like a dream canvas for getting super detailed. Over time, I’ve found that these bumpy gourds are perfect for adding depth and dimension to more complex patterns.
Creating Intricate Designs Around the Bumps
- Pattern integration: Carve intricate patterns that weave around the warts, making them part of the design.
- Layered carving: Use different depths of carving to create a 3D effect, with the warts adding to the dimensionality.
Adding Depth and Dimension
- Shadow play: Carve deeper in some areas to cast shadows and create a more dramatic effect.
- Texturing: Use rasps to add fine details that complement the natural texture of the warts.
Examples of Complex Patterns
- Haunted forest scene: Carve trees and haunted houses, using the warts as part of the landscape.
- Monsters and ghouls: Create detailed monster faces that utilize the pumpkin’s bumps as part of the creature’s features.
Themed Warty Pumpkin Designs
Every Halloween, I love syncing my pumpkin carvings with whatever theme I’m going for—it really brings everything together. Whether it’s a haunted house or a creepy forest, warty pumpkins always seem to fit right in.
Haunted House Carvings
- Spooky windows and doors: Carve a haunted house, using the warts as natural embellishments like windows or stones.
- Ghosts and goblins: Add small ghost or goblin figures peeking out from behind the warts.
Creepy Creatures: Spiders, Bats, and More
- Spider webs: Use the natural texture of the pumpkin to create a web design.
- Bats in flight: Carve bats flying across the pumpkin, with the warts serving as the moon or stars.
Witch and Ghost Designs
- Warty witch face: Carve a witch’s face, using the warts as her nose or moles.
- Ghastly ghost: Create a ghostly figure that seems to be emerging from the warty surface.
Using Warty Pumpkins for 3D Carvings
Warty pumpkins are awesome for 3D carvings—they really make your designs pop. I’ve found that their texture naturally lends itself to more lifelike designs, adding an extra layer of spookiness to my Halloween setup.
Techniques for 3D Effects
- Multi-layer carving: Remove layers of skin to different depths, creating a 3D effect.
- Shading and highlighting: Carve shallow areas to create highlights and deeper areas for shadows.
Examples of 3D Warty Pumpkin Carvings
- Grotesque faces: Carve a face that looks like it’s emerging from the pumpkin, with warts adding to the eerie appearance.
- Creepy creatures: Sculpt spiders or snakes that appear to be crawling over the pumpkin’s surface.
How to Highlight the Natural Texture
- Polishing: Buff certain areas to make them shine, contrasting with the rough warty texture.
- Light placement: Position lights to enhance the 3D effects and cast spooky shadows.
Painting and Decorating Your Warty Pumpkin
Mixing carving with a bit of paint totally ups your warty pumpkin game and makes it a real Halloween showstopper. I’ve always enjoyed adding a bit of color to my carvings.
Combining Carving with Painting
- Paint as accents: Use paint to highlight certain areas, like eyes or scars, to make them stand out.
- Color blending: Blend multiple colors to create a more dynamic and eerie look.
Choosing the Right Paint for Warty Surfaces
- Acrylic paints: These work well on pumpkins and provide vibrant colors.
- Spray paints: Ideal for covering large areas quickly, but be cautious of drips on the warty texture.
Adding Embellishments: Glitter, Fake Blood, Etc.
- Glitter: Add sparkle to certain areas to catch the light.
- Fake blood: Drip around the carved areas for a gory effect.
- Glow-in-the-dark paint: Make your pumpkin stand out even in the dark.
Preserving Your Carved Warty Pumpkin
You’ve put in the work carving—now let’s make sure your pumpkin stays fresh until Halloween. Here’s what I do to keep mine looking good for weeks.
Tips for Prolonging the Life of Your Carved Pumpkin
- Keep it cool: Store your pumpkin in a cool, dry place to slow down decay.
- Hydration: Soak the pumpkin in water to keep it hydrated, especially after carving.
Using Sprays and Sealants
- Pumpkin preservative spray: Apply this after carving to help seal in moisture and prevent mold.
- Vinegar and water solution: Spritz on the carved areas to kill bacteria and fungi.
How to Prevent Mold and Decay
- Avoid exposure to direct sunlight: This can cause your pumpkin to dry out and rot faster.
- Use LED lights: Traditional candles produce heat, which can accelerate decay; LED lights are a better option.
Displaying Your Warty Pumpkin Masterpiece
Now that your warty pumpkin is all carved up, it’s time to show it off. I love experimenting with different display ideas to make the most of my creations.
Creative Display Ideas for Indoors and Outdoors
- Porch display: Arrange multiple pumpkins with different designs for a full Halloween scene.
- Indoor centerpiece: Place your pumpkin on a table with surrounding Halloween decorations.
Using Lighting to Enhance the Spooky Effect
- LED string lights: Wrap around the pumpkin or place inside to create an eerie glow.
- Spotlights: Aim a spotlight at your pumpkin from below to cast long, spooky shadows.
Incorporating Warty Pumpkins into Your Halloween Décor
- Themed arrangements: Combine your pumpkin with other themed decorations like skeletons or spider webs.
- Gothic garden: Place warty pumpkins among dried flowers and leaves for a haunted garden effect.
Warty Pumpkin Carving Ideas for Kids
Involving kids in pumpkin carving can be fun and safe with these ideas. Last Halloween, my niece and I tackled a warty pumpkin together. She decided the biggest wart had to be the nose, and it ended up being the funniest, most adorable pumpkin we’ve ever made. It’s now a tradition!
Kid-Friendly Designs
- Smiling faces: Simple, happy faces that are easy for kids to carve.
- Animal faces: Create fun animal faces like cats or owls, using the warts as eyes or noses.
Safe Carving Practices for Children
- Use kid-friendly tools: Soft carving tools made for kids to avoid injuries.
- Supervision is key: Always have an adult present to guide the carving process.
Fun and Easy Patterns
- Stickers and stencils: Allow kids to use stickers or trace stencils to create their designs.
- Paint instead of carve: Younger children can paint their pumpkins instead of carving, which is safer and just as fun.
Frequently Asked Questions About Warty Pumpkin Carving
Common Issues and Troubleshooting
- Difficulty carving around warts: Use fine tools and work slowly to avoid mistakes.
- Pumpkin rotting too quickly: Keep it cool and use preservative sprays to extend its life.
Best Practices for Beginners
- Start simple: Choose easy designs to build your confidence before tackling more complex carvings.
- Practice on paper: Sketch your design on paper before transferring it to the pumpkin.
Where to Find Warty Pumpkins
- Local farms and pumpkin patches: These are great places to find a variety of warty pumpkins.
- Specialty stores: Some stores carry unique pumpkins around Halloween, including warty varieties.
- Online marketplaces: You can order warty pumpkins from online sellers if they’re hard to find locally.