The harlequin term dates back more than 400 years ago, originating on the stages of Italy. Street performers who wanted to break into the big time would improvise comedy acts in the theater. People called them “harlequins” and recognized them on sight for their unique outfits.
The harlequin design was always the same: tights with diamond patterns in bright colors and a mask. Since harlequins usually acted fumbling and klutzy, we associate the pattern of their outfits with clowns.
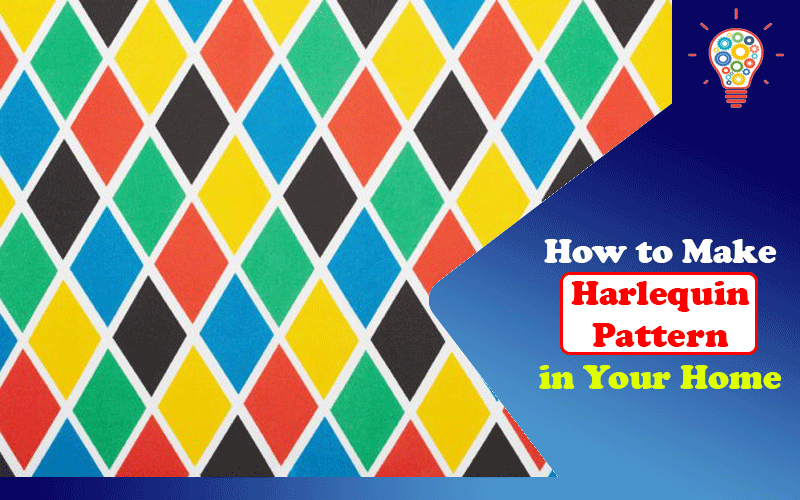
Traditional harlequin patterns are red and white diamonds. But over time, the colors have varied, as have the ways the pattern looks. The design itself, though, remains consistent.
Now, harlequin patterns are popular in furniture, clothing, and interior design. If you want to use this pattern in your home, follow these tips for a simple, timeless final product!
Table of Contents
1. Choose the Pattern
Classic, traditional harlequins weren’t always diamond-shaped. Diamonds are the most common patterns, but any sharp-edged geometric shape can work. For instance, yours can be a rhombus, a lozenge, or a diamond. As long as you avoid curves as your primary feature, you’re able to recreate the harlequin design.
The pattern can also be vertical or horizontal, depending on your preference.
In general, when you choose the way you’re setting up the pattern, you’re picking:
- The direction the repetition goes (vertical or horizontal)
- The precise shapes you want to create
- The colors you want to use
If your goal is to be a little more unique than the traditional patterns, get creative with how you combine your geometric shapes.
Four triangles or two half-diamonds can make up a square. Or try an unstructured pattern where you mix the harsh lines with curvy shapes. The key is to leave a blank space between each shape. This is the defining characteristic of the harlequin pattern.
2. Consider the Size

There is a minuscule amount of math that goes into creating a pattern. If you don’t mind a lot of measurements, you can design an intricate harlequin pattern. But if you’d rather have a simple, less complex pattern, go with larger shapes.
This pattern works well in any room to add color, depth, and class. Think about the statement that you want to make and whether you want bold, large shapes or small, delicate ones.
Once you decide how big of a pattern you prefer, use these steps to measure your walls and design your shapes:
- Measure your walls with a tape measure, writing down the height and width.
- Choose the size and direction of your main shape. Traditionally, the shape’s height would be double the width.
- Using your wall’s width and the size of your shape, you’ll develop how many shapes will be in your pattern. Say you chose diamonds, and you wanted them to be ten inches wide with a line of one inch between them. That’s eleven inches total, so you’d figure out how many you need by dividing the wall’s width by eleven.
- If you’re not satisfied with the math result, adjust your shapes’ sizes until you come up with one you’re happy with. For instance, if you wanted more diamonds, you would need to make them smaller.
- To determine the height of your shape, multiply the final width by two.
Remember, if you’re planning an asymmetrical or untraditional pattern, you’ll have to include your random shapes in the math formula. If you prefer to keep it simple, stick with basic diamonds, triangles, or rhombi.
3. Pick Your Colors
The original harlequin colors aren’t black and red, as most people think. They are red, yellow, blue, and green. Occasionally, people use black as a contrasting hue.
The lines of a classic harlequin pattern are just as important as the colors of the diamond. Traditionally, they are white, black, or brown.
Choose at least two colors for your pattern. Modern harlequin designs come in all sorts of shades, so feel free to use any combination that you want. However, to keep it consistent, stick with colors that are complementary to each other. For example, don’t use neons and pastels, but you can use neons or pastels!
4. Collect Your Supplies

Now that you’ve done the hard part, it’s time to gather your supplies to get ready to paint!
Before you bolt to the home improvement store or go online to shop, make a list of what you’ll need.
These are the essential supplies for a harlequin pattern project:
- The paints to go with each color and shape you chose
- Painting tape
- Paintbrushes (multiple types, depending on the size of your shapes)
- Tape measure
- Wall chalk
- Cleaning supplies
- Plastic sheeting to cover the floor and furniture
Grab some old clothes or a painter’s smock for yourself, and you’re ready to get painting!
5. Create Your Pattern
Once you have everything at your fingertips, the fun can begin!
These steps will guide you as you paint your walls with the perfect harlequin pattern for your room:
- Use your tape measure and chalk to measure where you want your shapes to go, horizontally and vertically.
- Tape off the pattern where you drew your lines. Cut off the extra tape.
- Paint the tape with your base coat to keep the paint from getting underneath the tape when you use your main colors.
- Let the base coat dry, then start painting your shapes.
- Remove the tape and add your final touches.
Whether you prefer things simple or complicated, those are the steps to your final harlequin pattern!
Conclusion
There aren’t too many patterns today that are as easily recognizable as the harlequin. But over time, this design has morphed into more modern shapes and colors.
To use the harlequin pattern in your home, follow this guide for a final look that is both timeless and contemporary.
 Author Bio:
Caitlin Sinclair is the Business Manager at Riata Apartments. With over 5 years of property management experience, she begins and ends each day loving what she does. She finds joy in helping current and future residents and makes Riata a place everyone loves to call home.